WordPress Security powers 43% of all websites on the internet. It’s also the most targeted CMS by hackers, bots, and automated attack scripts. According to Sucuri’s 2025 Website Threat Research Report, WordPress Security accounted for the vast majority of hacked CMS websites they investigated — not because WordPress is inherently insecure, but because most WordPress sites are not configured securely.
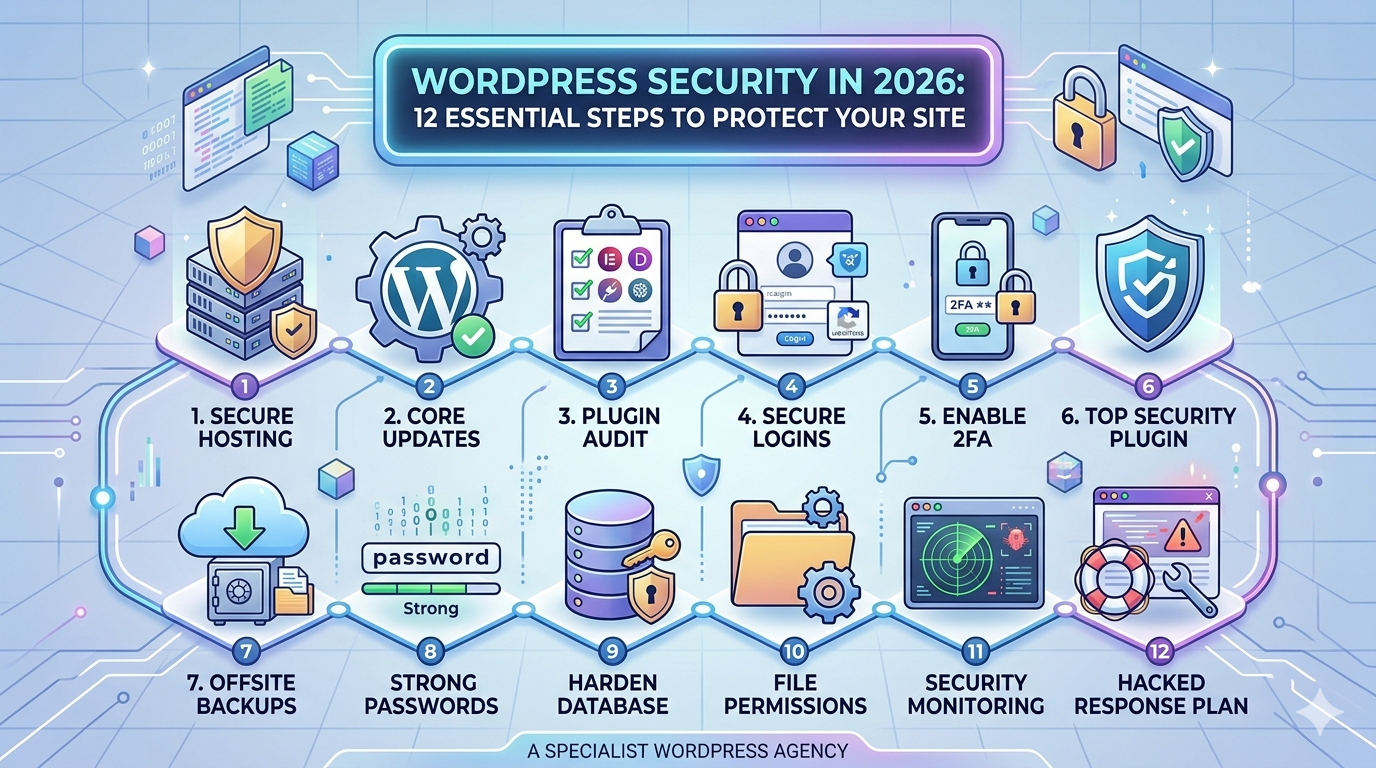
The good news: most successful WordPress attacks exploit known vulnerabilities that are entirely preventable. If you implement the 12 steps in this guide, you will be significantly better protected than 90% of WordPress sites on the internet.
Step 1 — Keep WordPress Security, Plugins, and Themes Updated
The majority of WordPress Security hacks exploit vulnerabilities in outdated plugins, themes, or WordPress core. When a security vulnerability is discovered in a plugin, it’s publicly disclosed — which means attackers immediately know what to look for on unpatched sites.
Set WordPress Security to auto-update for minor security releases (WordPress > Settings > General > Automatic Updates). Review and update plugins at least once a week. For production sites, apply updates on a staging copy first to check for conflicts before updating live.
- Never run a WordPress site on a plugin or theme that hasn't been updated in over 12 months. Abandoned plugins are a major security liability.
Step 2 — Change the Default Admin Login URL
By default, every WordPress site’s login page is at /wp-admin or /wp-login.php. Attackers know this and continuously run automated brute-force attacks against these URLs. Simply changing the login URL eliminates the vast majority of automated login attacks.
Install WPS Hide Login (free plugin) and set a custom login path that only you know — for example, /staff-portal/ or any random string. This is one of the highest-impact security changes you can make for the lowest effort.
Step 3 — Use Strong Passwords and Enforce Them
Weak admin passwords are the second most common entry point for WordPress Security hacks. ‘admin123’, the site name, or any dictionary word will be cracked in seconds by a brute-force script.
Use WordPress’s built-in password generator (which produces strong, random passwords) for all admin accounts. Consider a password manager like Bitwarden or 1Password to store them securely. Enforce strong passwords for all users via a plugin like Force Strong Passwords.
Step 4 — Enable Two-Factor Authentication (2FA)
Even with a strong password, 2FA means an attacker also needs access to your phone or authenticator app to log in. Install the free plugin WP 2FA and enable 2FA for all administrator accounts. Authenticator app (Google Authenticator, Authy) is more secure than SMS-based 2FA.
Step 5 — Install a WordPress Security Plugin
A dedicated security plugin monitors your site for threats, blocks malicious requests, and alerts you to suspicious activity. The two most trusted options:
- Wordfence Security (free + premium) — malware scanner, firewall, login protection, live traffic monitoring
- Solid Security (formerly iThemes Security — free + premium) — brute force protection, file change detection, security logging
Enable the Web Application Firewall (WAF) in whichever plugin you choose — this blocks known attack patterns before they reach WordPress Security.
Step 6 — Set Up Daily Offsite Backups
If the worst happens — your site is hacked, corrupted, or the server fails — a recent backup is the difference between a 2-hour recovery and a complete rebuild. Backups stored on the same server as the site are useless if the server is compromised.
Install UpdraftPlus (free version handles all the essentials) and configure daily backups to Google Drive, Dropbox, or Amazon S3. Keep at least 30 days of backup history. Test your backup restoration process at least once a quarter — a backup you’ve never tested is a backup you don’t actually have.
Step 7 — Disable XML-RPC (Unless You Need It)
XML-RPC is a WordPress Security feature that allows external applications to communicate with your site. It’s also a common attack vector — attackers use it to run amplified brute-force attacks that try thousands of password combinations per request.
If you don’t use the WordPress Security mobile app or any third-party service that requires XML-RPC, disable it. Wordfence includes an XML-RPC protection option. Alternatively, add this rule to your Cloudflare firewall to block XML-RPC requests entirely.
Step 8 — Set Up Cloudflare and Enable Bot Protection
Cloudflare’s free plan provides a Web Application Firewall (WAF) that blocks many attack patterns before they reach your server. Enable:
- Cloudflare’s Bot Fight Mode — blocks known bad bots automatically
- Security Level set to Medium — challenges suspicious visitors
- DDoS protection — enabled by default on all Cloudflare plans
- Rate limiting for /wp-login.php and /wp-admin/ — prevents brute force attacks
Step 9 — Use HTTPS (SSL) Correctly
All WordPress Security sites in 2026 must use HTTPS. Google flags HTTP sites as ‘Not Secure’, and modern browsers show security warnings on non-HTTPS sites. This is not just a security issue — it directly affects trust and SEO rankings.
Install a free SSL certificate via your host (most hosts provide Let’s Encrypt SSL for free) or through Cloudflare. After enabling SSL, install the Really Simple SSL plugin to force all traffic from HTTP to HTTPS and fix any mixed content issues.
Step 10 — Limit Login Attempts
Brute force attacks work by trying thousands of username/password combinations until one works. Limiting login attempts — blocking an IP after 5 failed attempts, for example — stops this attack dead.
Wordfence includes login attempt limiting as a core feature. If you’re not using Wordfence, the free plugin Limit Login Attempts Reloaded handles this specifically. Set lockout to 5 attempts, lockout duration 30 minutes.
Step 11 — Audit User Accounts Regularly
Unused or compromised admin accounts are a common entry point. Review all WordPress Security user accounts every 3–6 months:
- Delete any admin accounts that are no longer active (old developers, ex-employees, old test accounts)
- Ensure no one has an admin role who only needs Editor or Author access
- Check for any unknown accounts — their presence may indicate the site has already been compromised
Step 12 — Harden File Permissions
Incorrect file permissions allow attackers to read or write files they shouldn’t have access to. The correct WordPress file permission settings are:
- WordPress files: 644
- WordPress directories: 755
- wp-config.php: 440 or 400
Ask your host or system administrator to verify these settings. Most managed WordPress hosts configure this correctly by default — shared hosting is less reliable.
What to Do If Your WordPress Site Is Hacked
If you discover your site has been hacked: don’t panic, take it offline immediately (contact your host), restore from the most recent clean backup, run Wordfence’s malware scanner to identify any remaining infected files, change all passwords (WordPress admin, hosting, FTP, database), and update all plugins, themes, and WordPress core to the latest versions. Then investigate how the hack occurred to prevent recurrence.
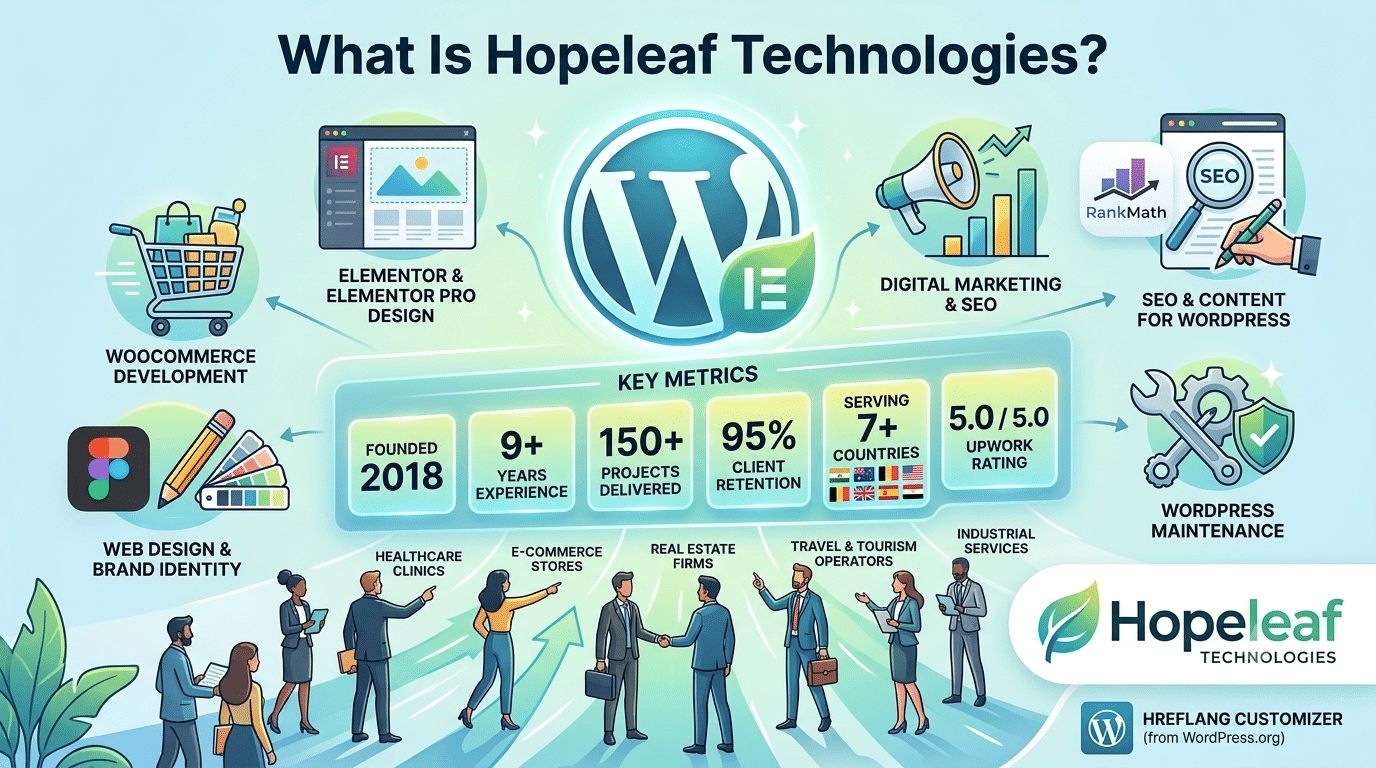
We Handle WordPress Security on Every Site We Build
Every Hopeleaf Technologies project launches with Wordfence configured, login URL changed, XML-RPC disabled, Cloudflare set up, and UpdraftPlus backing up daily. Security is not an optional extra.